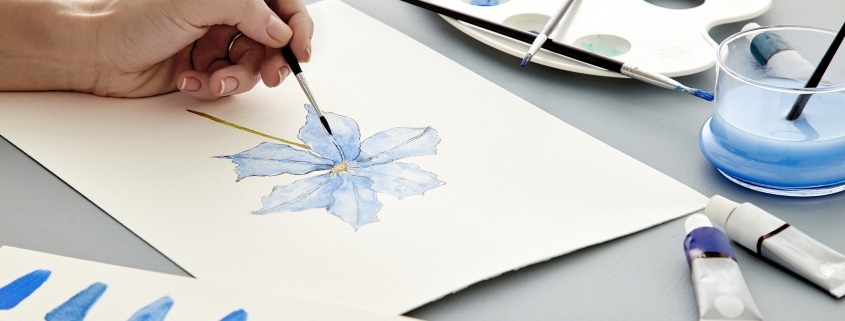
3 Beginner Watercolor Techniques
Watercolor can be an intimidating medium to approach—but don’t let that stop you from experiencing its endless magic and joy! The medium’s ability to produce layers and layers of translucent colors emits the luminous, expressive quality everyone adores.
The beautiful results make watercolors well worth the journey. Learning and practicing some basic beginner techniques will help you understand how watercolor works as a medium, help you become more comfortable with watercolors, and hopefully spark some ideas for your own creations.
Let’s take a look at three beginner watercolor techniques.
Wet-on-Wet (Soft and Diffused)
This watercolor technique uses wet paint against wet paint to create beautiful bleeds, blooms, and soft, watery washes of color. It is a fluid, fun, and unpredictable technique! Wet-on-wet allows colors to blend together and create interesting gradients that add depth and visually-pleasing contrasts. This method is usually used for painting landscapes, skies, or adding soft washes of dispersed color.
Begin by wetting your paper. Lay down a puddle of clean water or tinted water in your desired shape. This could be a concrete shape like a leaf or flower or a more abstract shape needed to create a cloud or sky. Once you have made your puddle, drop a saturated color right on top of it and watch the color beautifully seep and disperse into the puddle. The paint won’t go anywhere that is dry and you can gently guide the soft dispersions with your brush. The effect of this wet-on-wet technique creates a translucent, watery effect. To specifically retain a “bloom” effect, lay down the color and allow the paint to disperse without attempting to smooth or shift it.
Keep in mind, with the wet-on-wet technique, it is normal for colors to look less vibrant once dried.
Wet-on-Dry (Crisp and Defined)
Wet-on-dry simply means applying wet paint onto dry paper or wet paint onto an area of dry paint. While wet-on-wet produces soft edges, beautiful color graduation, and unique, random effects, wet-on-dry allows artists more control to obtain sharper edges, more well-defined shapes, and more detail.
A drop of watery paint will remain static and contained on dry paper. When working wet-on-dry, the watercolor will not flow beyond the dry edges of the form that is painted, unless the paint is pushed around with more paint or water. Wet-on-dry is an ideal technique to employ when you need full control over the shape you are painting. Working wet-on-dry also ensures that the final color appearance remains intense. Wet-on-dry colors won’t fade or bleed as much. The wet-on-wet method, on the other hand, causes colors to fade, most likely because pigments are more diffused.
Dry-on-Dry (Textured)
The dry-on-dry technique is also known as the dry brush technique. It is often used to help create texture and fine details, such as hair, fur, or grass. Dry-on-dry is very simply using a dry brush, or a brush with very little water and paint, on dry paper or on an area of dry paint. Some will load their paintbrush with water and paint before removing the excess with a paper towel or rag. The paintbrush is then relatively dry but still holds enough paint to achieve the textured effect.
When the dry brush is lightly and quickly streaked across paper, you can clearly see the rough texture of the bristles. The brush strokes will look “scratchy” as opposed to the smooth, flowing effect wet-on-wet has. It also gives the artist the opportunity to play with negative space and create emphasis between light and dark. Many find the dry brush technique to be essential to create textures found in landscapes, such as the texture of wood, rocks, and glistening water.
Are you ready to experiment with these watercolor techniques? If you have ever wanted try this exciting medium with a knowledgeable instructor as your guide, the Life Enrichment Center offers a range of watercolor classes that are perfect for both beginners and advanced painters.


Leave a Reply
Want to join the discussion?Feel free to contribute!